첫 MCP 경험: 5분 설정
첫 MCP 경험: 5분 설정
목표: 다음 5분 안에 Claude Desktop에 초능력을 부여할 것입니다 - 사용자의 허락 하에 컴퓨터의 파일을 읽고, 쓰고, 정리하는 능력입니다.
🚀 왜 이것이 중요한가
이것은 단순한 파일 관리가 아닙니다. AI 컴퓨팅의 미래를 경험하게 될 것입니다:
- 사용자의 맥락을 이해하는 AI (실제 파일, 단순한 텍스트가 아님)
- 행동을 취할 수 있는 AI (파일 생성, 이동, 정리)
- 허락을 요청하는 AI (보안되고, 제어된 접근)
이것이 MCP가 가능하게 하는 것의 첫 맛보기입니다 - 그리고 이것은 시작에 불과합니다.
⏱️ 5분 로드맵
  flowchart LR
    A["📥 1단계<br/>Claude 다운로드<br/>(1분)"] --> B["⚙️ 2단계<br/>MCP 설정<br/>(2분)"]
    B --> C["🔄 3단계<br/>재시작 및 테스트<br/>(1분)"]
    C --> D["🎉 4단계<br/>사용해보기!<br/>(1분)"]
📥 1단계: Claude Desktop 설치 (1분)
이미 Claude Desktop이 있는 경우: 2단계로 건너뛰세요!
처음 사용하는 경우: macOS 또는 Windows용 Claude for Desktop을 다운로드하세요.
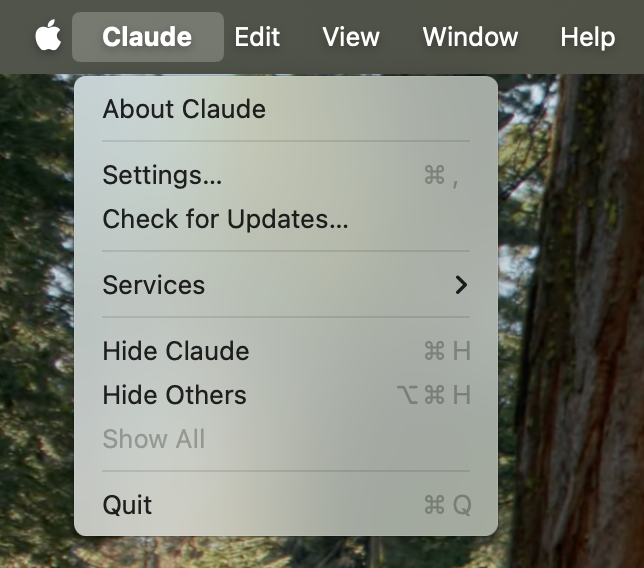
빠른 버전 확인: Claude 메뉴 → “업데이트 확인…“을 클릭하여 최신 버전이 있는지 확인하세요.
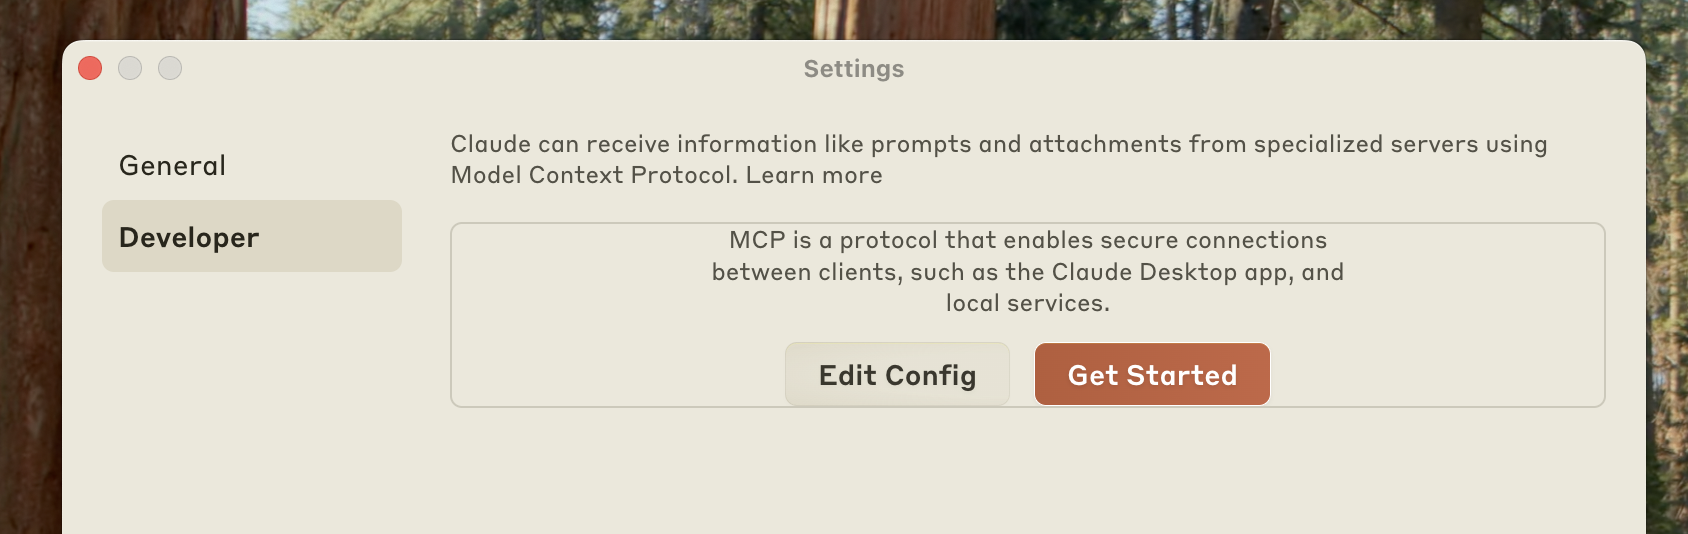
⚙️ 2단계: MCP 설정 (2분)
Claude를 미리 빌드된 파일 시스템 서버에 연결할 것입니다 - 이것은 Claude가 사용자의 허락 하에 사용할 수 있는 보안된 “파일 관리 앱"을 제공하는 것과 같습니다.
2.1 개발자 설정 열기
이것은 다음 위치에 설정 파일을 생성합니다:
- macOS:
~/Library/Application Support/Claude/claude_desktop_config.json - Windows:
%APPDATA%\Claude\claude_desktop_config.json
텍스트 편집기에서 설정 파일을 열고 파일 내용을 다음으로 교체하세요:
{
  "mcpServers": {
    "filesystem": {
      "command": "npx",
      "args": [
        "-y",
        "@modelcontextprotocol/server-filesystem",
        "/Users/username/Desktop",
        "/Users/username/Downloads"
      ]
    }
  }
}
{
"mcpServers": {
"filesystem": {
"command": "npx",
"args": [
"-y",
"@modelcontextprotocol/server-filesystem",
"C:\\Users\\username\\Desktop",
"C:\\Users\\username\\Downloads"
]
}
}
}설정 파일은 어떻게 작동하나요?
이 설정 파일은 Claude for Desktop에 애플리케이션을 시작할 때마다 어떤 MCP 서버를 시작할지 알려줍니다. 이 경우, 우리는 “filesystem"이라는 서버 하나를 추가했는데, 이 서버는 Node npx 명령을 사용하여 @modelcontextprotocol/server-filesystem을 설치하고 실행합니다.
username을 컴퓨터의 사용자 이름으로 교체했는지 확인하세요. 경로는 Claude가 접근하고 수정할 수 있는 유효한 디렉토리를 가리켜야 합니다. 데스크톱과 다운로드에서 작동하도록 설정되어 있지만, 더 많은 경로를 추가할 수도 있습니다.
이것이 제대로 실행되려면 컴퓨터에 Node.js도 필요합니다. Node가 설치되었는지 확인하려면 컴퓨터에서 명령줄을 열으세요.
- macOS에서는 응용 프로그램 폴더에서 터미널을 열으세요
- Windows에서는 Windows + R을 누르고, “cmd"를 입력한 다음 Enter를 누르세요
명령줄에 들어간 후, 다음 명령을 입력하여 Node가 설치되었는지 확인하세요:
node --version“command not found” 또는 “node is not recognized” 오류가 발생하면 nodejs.org에서 Node를 다운로드하세요.
명령 권한
Claude for Desktop은 설정 파일의 명령을 사용자 계정의 권한으로 실행하고 로컬 파일에 접근합니다. 소스를 이해하고 신뢰하는 경우에만 명령을 추가하세요.
3. Claude 재시작
설정 파일을 업데이트한 후, Claude for Desktop을 재시작해야 합니다.
재시작하면 입력 상자의 오른쪽 아래에 망치 ![]() 아이콘이 보여야 합니다:
아이콘이 보여야 합니다:
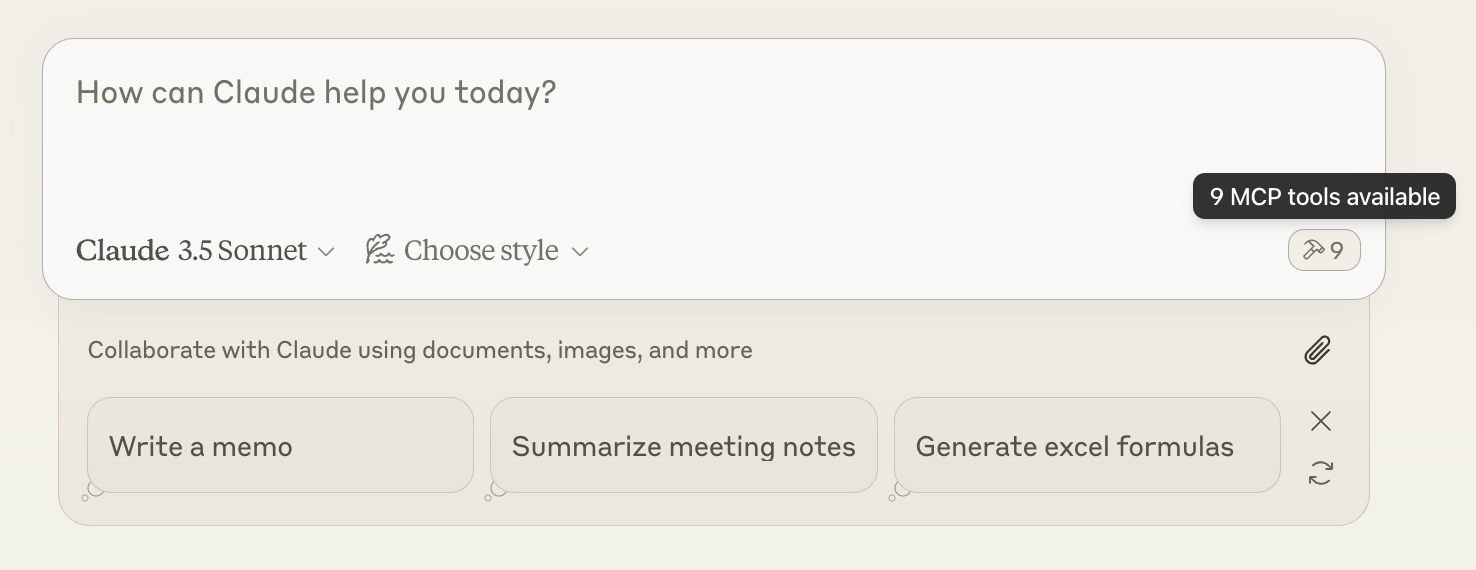
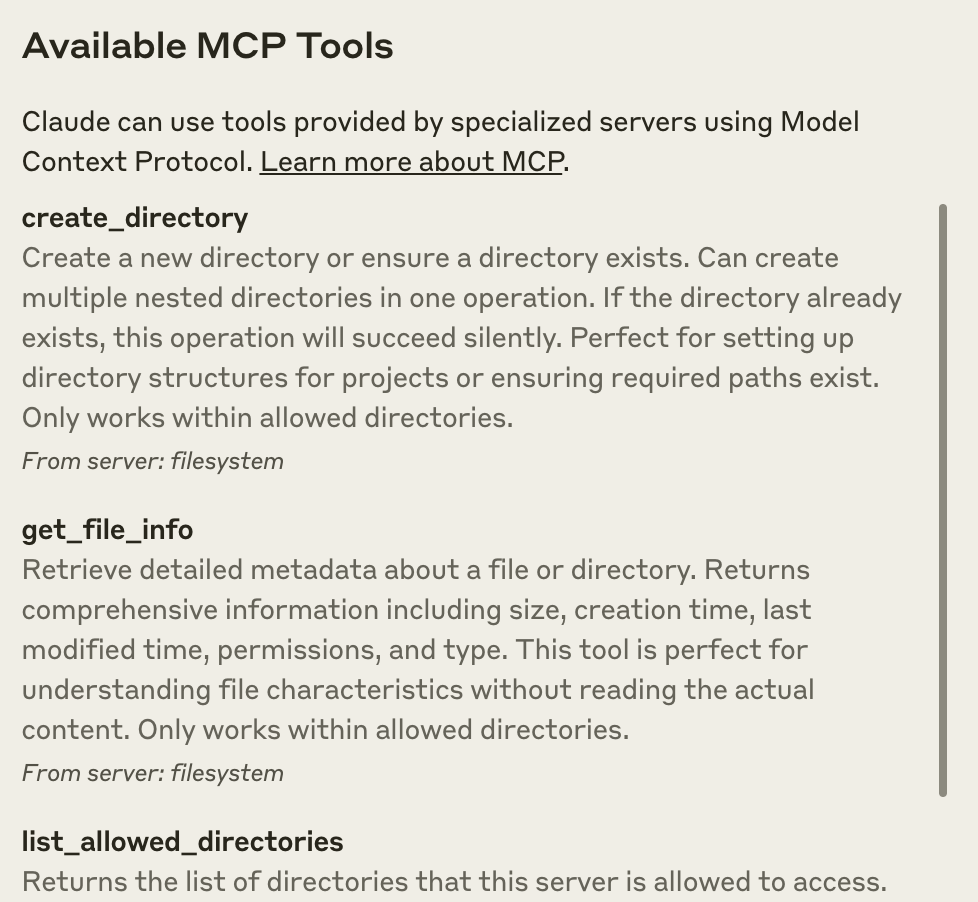
망치 아이콘을 클릭하면 파일시스템 MCP 서버와 함께 제공되는 도구들이 보여야 합니다:
서버가 Claude for Desktop에서 감지되지 않으면 디버깅 팁을 위해 문제 해결 섹션으로 진행하세요.
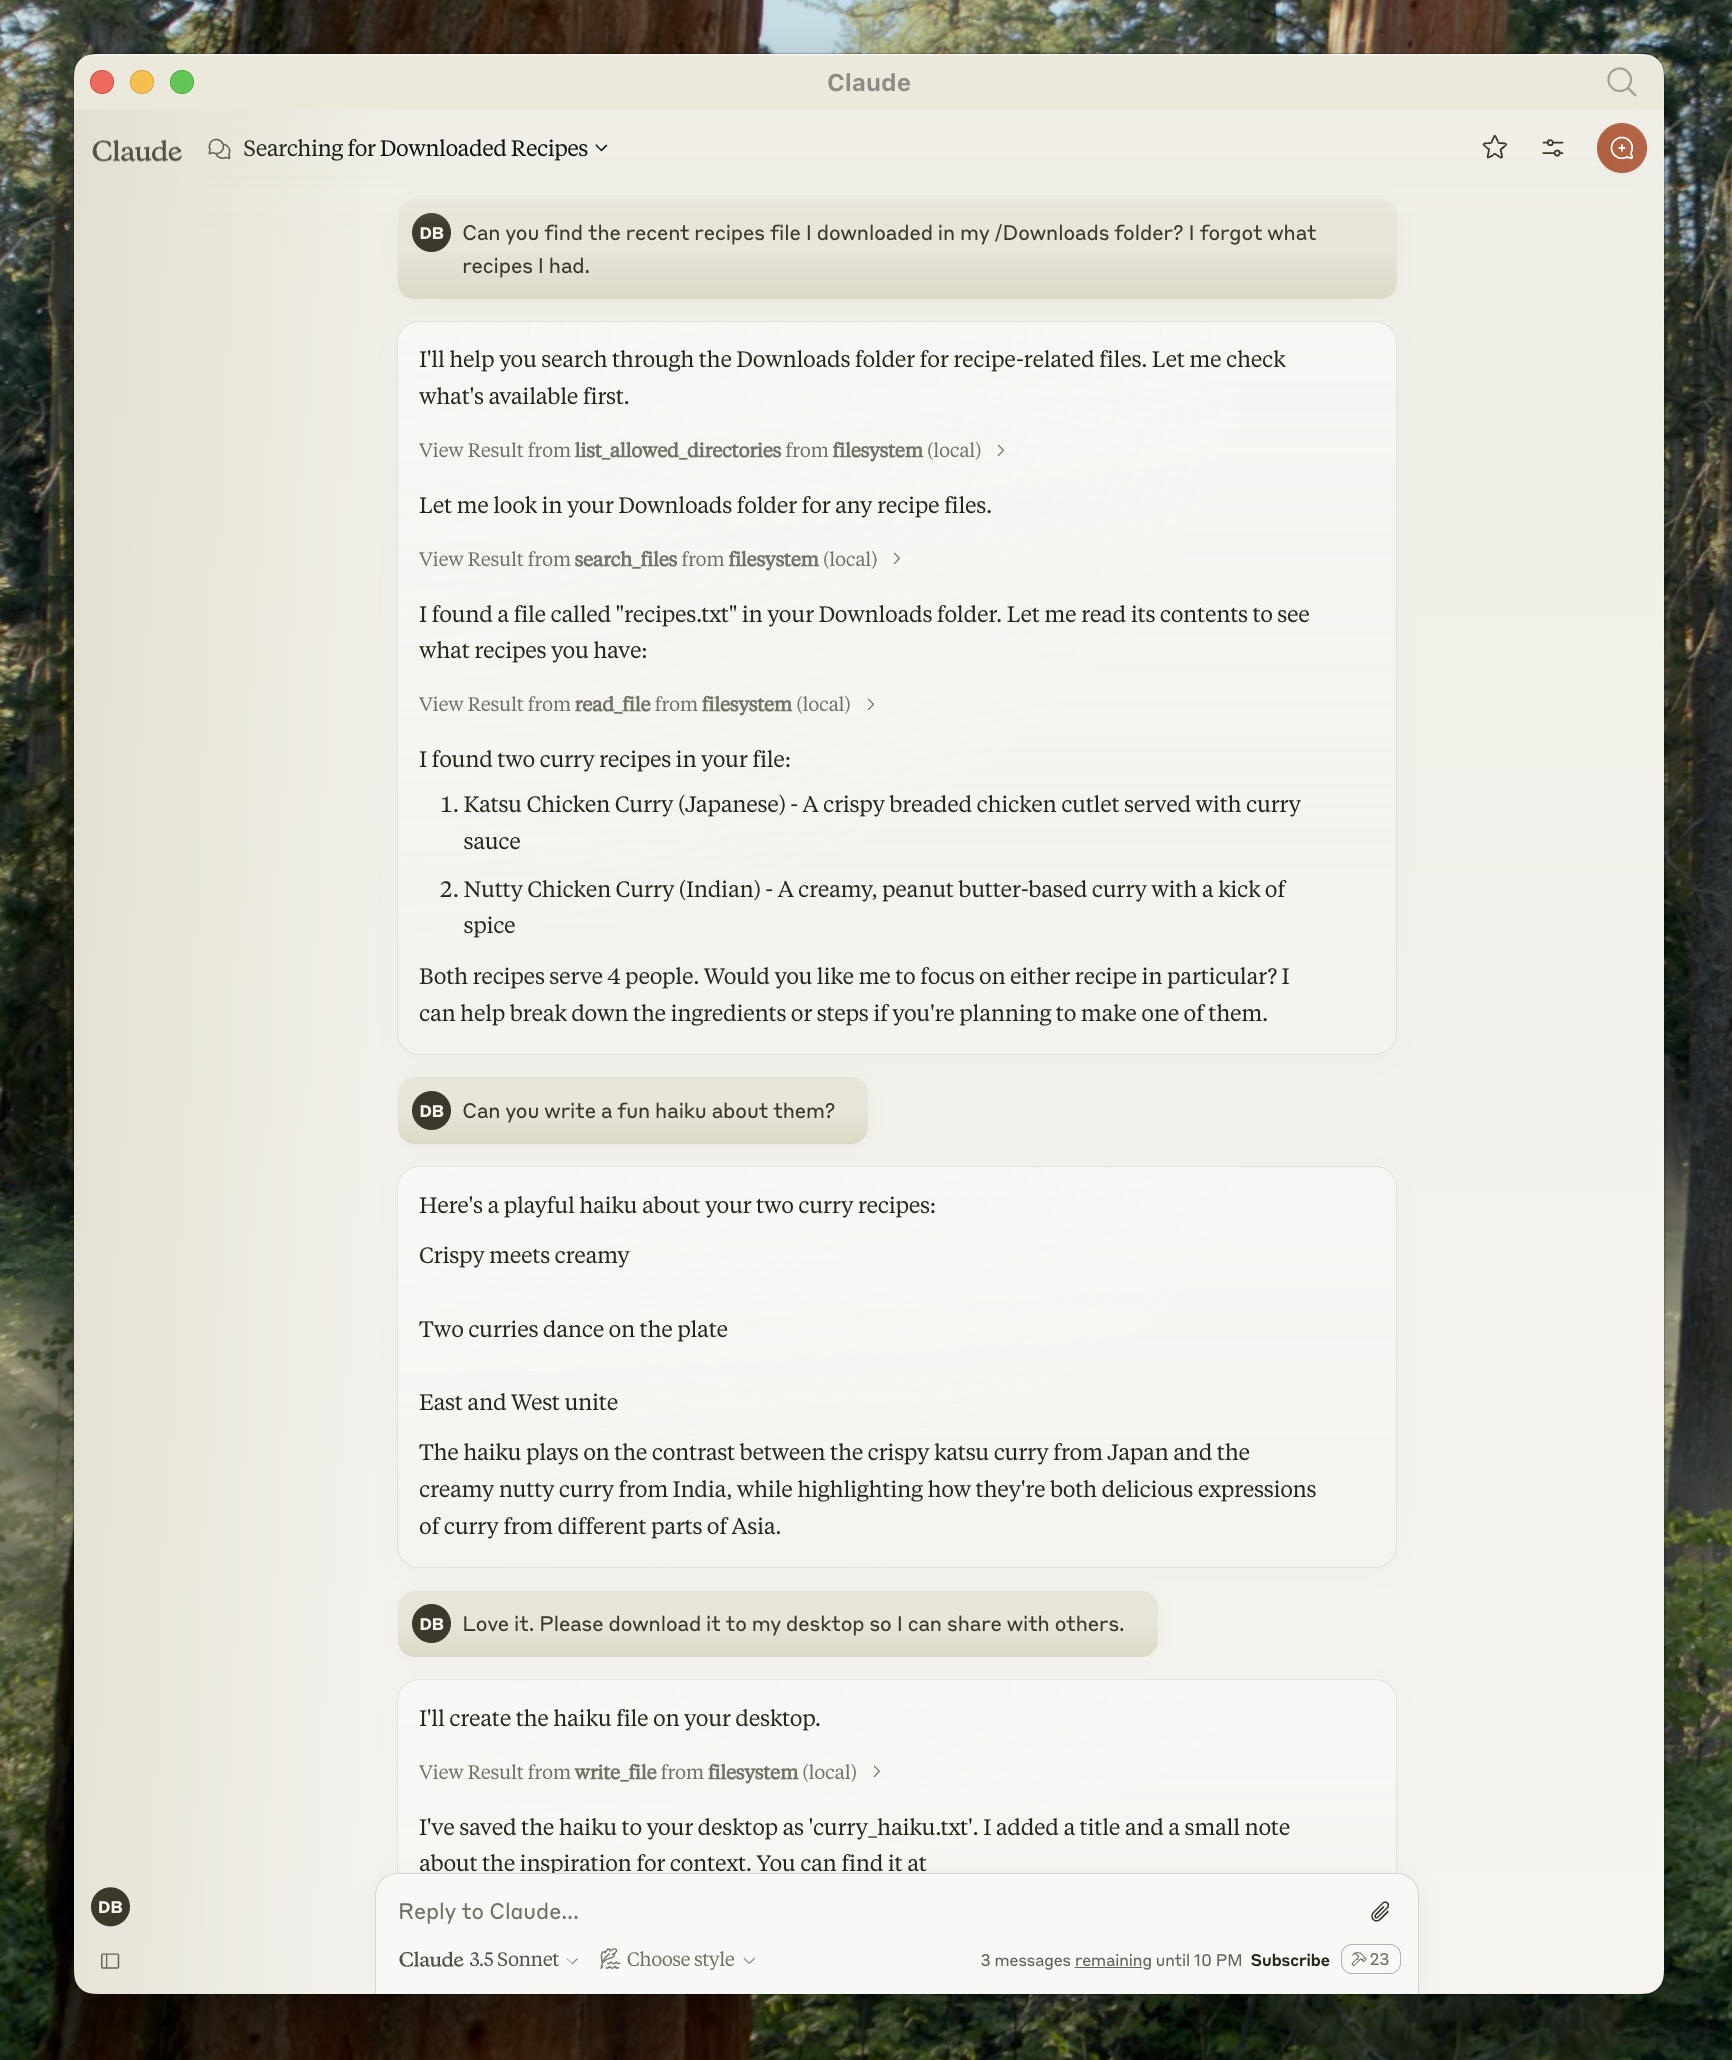
4. 사용해보기!
이제 Claude와 대화하고 파일시스템에 대해 질문할 수 있습니다. 관련 도구를 호출해야 할 때를 알아야 합니다.
Claude에게 시도해볼 만한 것들:
- 시를 써서 내 데스크톱에 저장할 수 있나요?
- 내 다운로드 폴더에 업무 관련 파일들이 어떤 것들이 있나요?
- 내 데스크톱의 모든 이미지를 “Images"라는 새 폴더로 옮길 수 있나요?
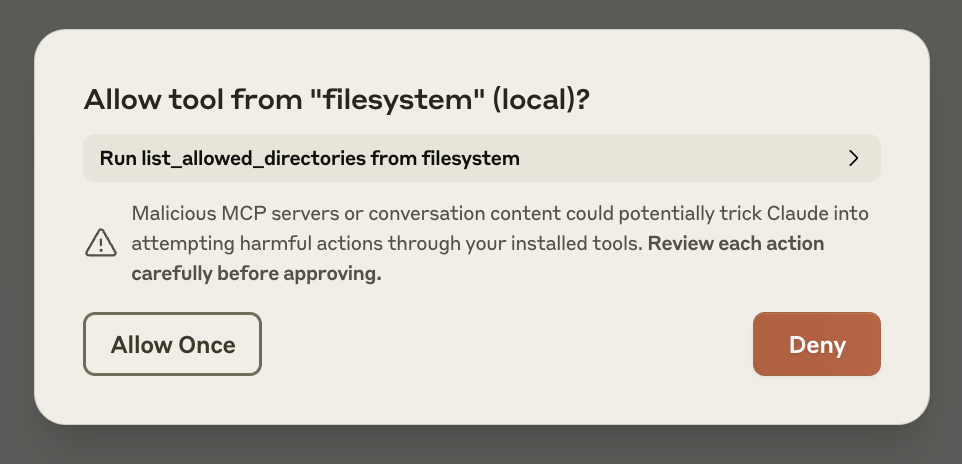
필요할 때, Claude는 관련 도구를 호출하고 행동을 취하기 전에 사용자의 승인을 요청할 것입니다:
문제 해결
서버가 Claude에 표시되지 않음 / 망치 아이콘 없음
- Claude for Desktop을 완전히 재시작하세요
claude_desktop_config.json파일 구문을 확인하세요claude_desktop_config.json에 포함된 파일 경로가 유효하고 절대 경로인지 확인하세요- 서버가 연결되지 않는 이유를 보려면 로그를 확인하세요
- 명령줄에서 서버를 수동으로 실행해보세요 (
claude_desktop_config.json에서 했던 것처럼username을 교체):
# MacOS/Linux
npx -y @modelcontextprotocol/server-filesystem /Users/username/Desktop /Users/username/Downloads

# Windows
npx -y @modelcontextprotocol/server-filesystem C:\Users\username\Desktop C:\Users\username\Downloads
Claude for Desktop에서 로그 가져오기
MCP와 관련된 Claude.app 로깅은 다음 위치의 로그 파일에 기록됩니다:
macOS:
~/Library/Logs/ClaudeWindows:
%APPDATA%\Claude\logsmcp.log는 MCP 연결 및 연결 실패에 대한 일반 로깅을 포함합니다.mcp-server-SERVERNAME.log라는 이름의 파일들은 명명된 서버의 오류(stderr) 로깅을 포함합니다.
다음 명령을 실행하여 최근 로그를 나열하고 새 로그를 따라갈 수 있습니다 (Windows에서는 최근 로그만 표시됩니다):
# macOS/Linux
tail -n 20 -f ~/Library/Logs/Claude/mcp*.log

# Windows
type "%APPDATA%\Claude\logs\mcp*.log"
다음 단계